
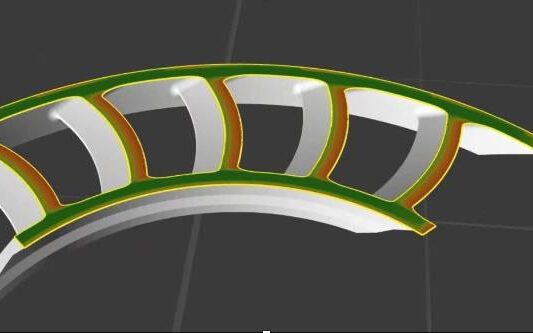
Ask any experienced LPBF process engineer what causes the most unplanned rework, and hatching strategy is almost always on the list. It’s one of the least visible parameters in metal 3D printing — and one of the most consequential.
What Hatching Actually Does
Hatching is the pattern the laser follows as it scans across each layer of powder — the order, direction, and spacing of every pass that melts metal into place. It sounds like a detail. It isn’t. Hatching strategy directly controls how heat accumulates and dissipates across a part, layer after layer, thousands of times over the course of a single build.
Get it wrong, and heat concentrates unevenly. Uneven heat means uneven cooling. Uneven cooling means residual stress locks into the part as it solidifies — and that stress has to go somewhere. It shows up as warping, as cracking at thin sections or overhangs, or as a part that pulls itself loose from its supports mid-build. None of that is visible until the build is finished, or worse, until it’s already failed.
Why Trial-and-Error Hatching Doesn’t Scale
For a long time, dialing in a hatching strategy meant running a build, inspecting the result, adjusting parameters, and running it again — an iterative process that consumes machine time, powder, and calendar days for every new geometry. It works, eventually, but it doesn’t scale. A process engineer’s hard-won intuition about how one part behaves doesn’t transfer cleanly to the next part with a different wall thickness, a different overhang angle, or a different orientation on the build plate.
That’s the real cost of unmanaged hatching: not just the failed builds, but the fact that every new part restarts the learning curve.
How Smart Hatching Changes the Approach
Smart Hatching, part of AMSIS GENESIS Print Suite, replaces that trial-and-error loop with physics-based optimization run before the build ever starts. Rather than applying a generic hatching pattern and hoping the geometry cooperates, Smart Hatching analyzes the part and adjusts scan path, direction, and sequencing specifically to manage where and how heat accumulates.
The goal is straightforward: keep thermal gradients — and the residual stress they create — as low and as evenly distributed as the geometry allows. In practice, that means:
- Reduced warping and distortion, particularly on thin walls, overhangs, and geometries with abrupt cross-section changes
- Fewer cracked or delaminated features, especially in high-stress alloys where microstructure is sensitive to thermal history
- Less reliance on support structures purely for stress management, since the hatching strategy itself is doing part of that work
- More consistent results across build plates, so a part behaves the same way whether it’s the first one printed or the fiftieth
From the Build Plate to the Part’s Performance
Residual stress isn’t just a build-completion problem — it follows the part. Parts with high locked-in stress can distort further during post-processing, machining, or heat treatment, and in the most demanding applications, it can influence long-term fatigue performance. Addressing stress at the hatching stage, before the part exists, is a fundamentally different starting point than trying to relieve it afterward.
This is exactly why hatching strategy matters most in regulated, high-consequence production — aerospace structures, energy components, medical implants — where a part that’s dimensionally correct but internally stressed isn’t actually a passing part. It’s a part waiting to fail an inspection, or worse, waiting to fail in service.
Where It Fits in the Build Preparation Workflow
Smart Hatching doesn’t operate in isolation. Inside GENESIS Print Suite, it works alongside Fast Heat Simulation — which predicts thermal behavior across the whole build — and Power Control — which fine-tunes laser parameters to hold melt quality steady. Together, they let a process engineer see the thermal consequences of a hatching decision before committing a single layer to metal, and adjust it accordingly.
That’s the shift Smart Hatching represents: from hatching as a fixed, generic default, to hatching as a variable that’s actively optimized for the part in front of you.
Frequently asked questions
What is hatching in laser powder bed fusion?
Hatching is the scan pattern the laser follows across each layer — the order, direction, and spacing of passes — and it's a primary driver of how heat and stress build up inside a metal part during printing.
How does poor hatching strategy cause part failure?
Uneven hatching creates uneven heating and cooling, which locks residual stress into the part. That stress typically shows up as warping, cracking at thin or overhanging features, or supports failing mid-build.
How is Smart Hatching different from a default or fixed hatching pattern?
Instead of applying one generic pattern to every geometry, Smart Hatching uses physics-based optimization to adjust scan path and sequencing specifically for the part's shape and thermal behavior — before the build starts.
Does hatching strategy affect a part after it's finished printing?
Yes. Residual stress from poor hatching can cause further distortion during post-processing or heat treatment, and in demanding applications can affect long-term fatigue performance — which is why managing it at the build-preparation stage matters.